How to Grow Tomatoes on a Balcony: The Complete Beginner's Guide to Big Harvests in Small Spaces
Small balcony. Big harvest.
Think you need a garden to grow delicious tomatoes?
Think again.
Some of the sweetest, juiciest tomatoes I’ve ever tasted were grown in pots on tiny balconies overlooking busy streets, apartment car parks, and city skylines.
The truth is simple:
A tomato plant doesn’t care whether it’s growing in a country garden or on the fourth floor of an apartment building.
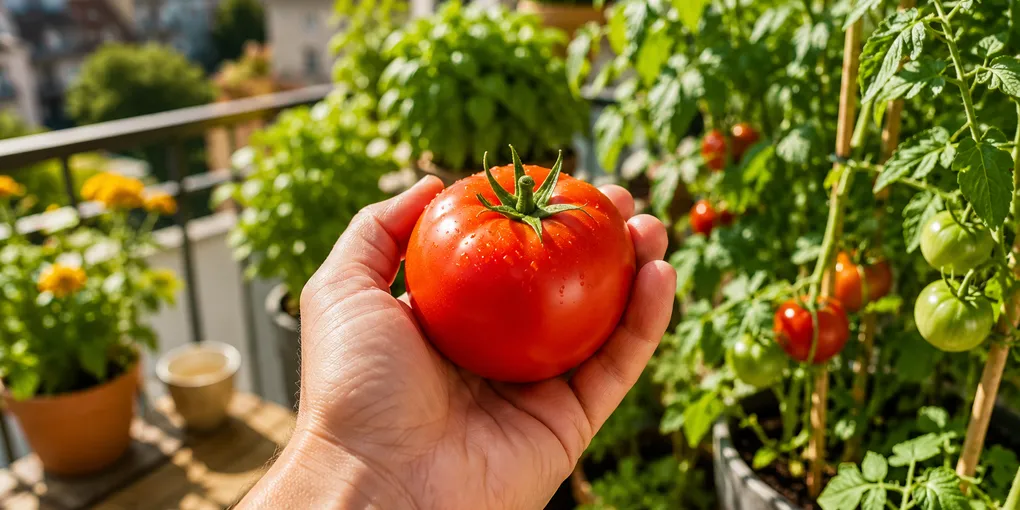
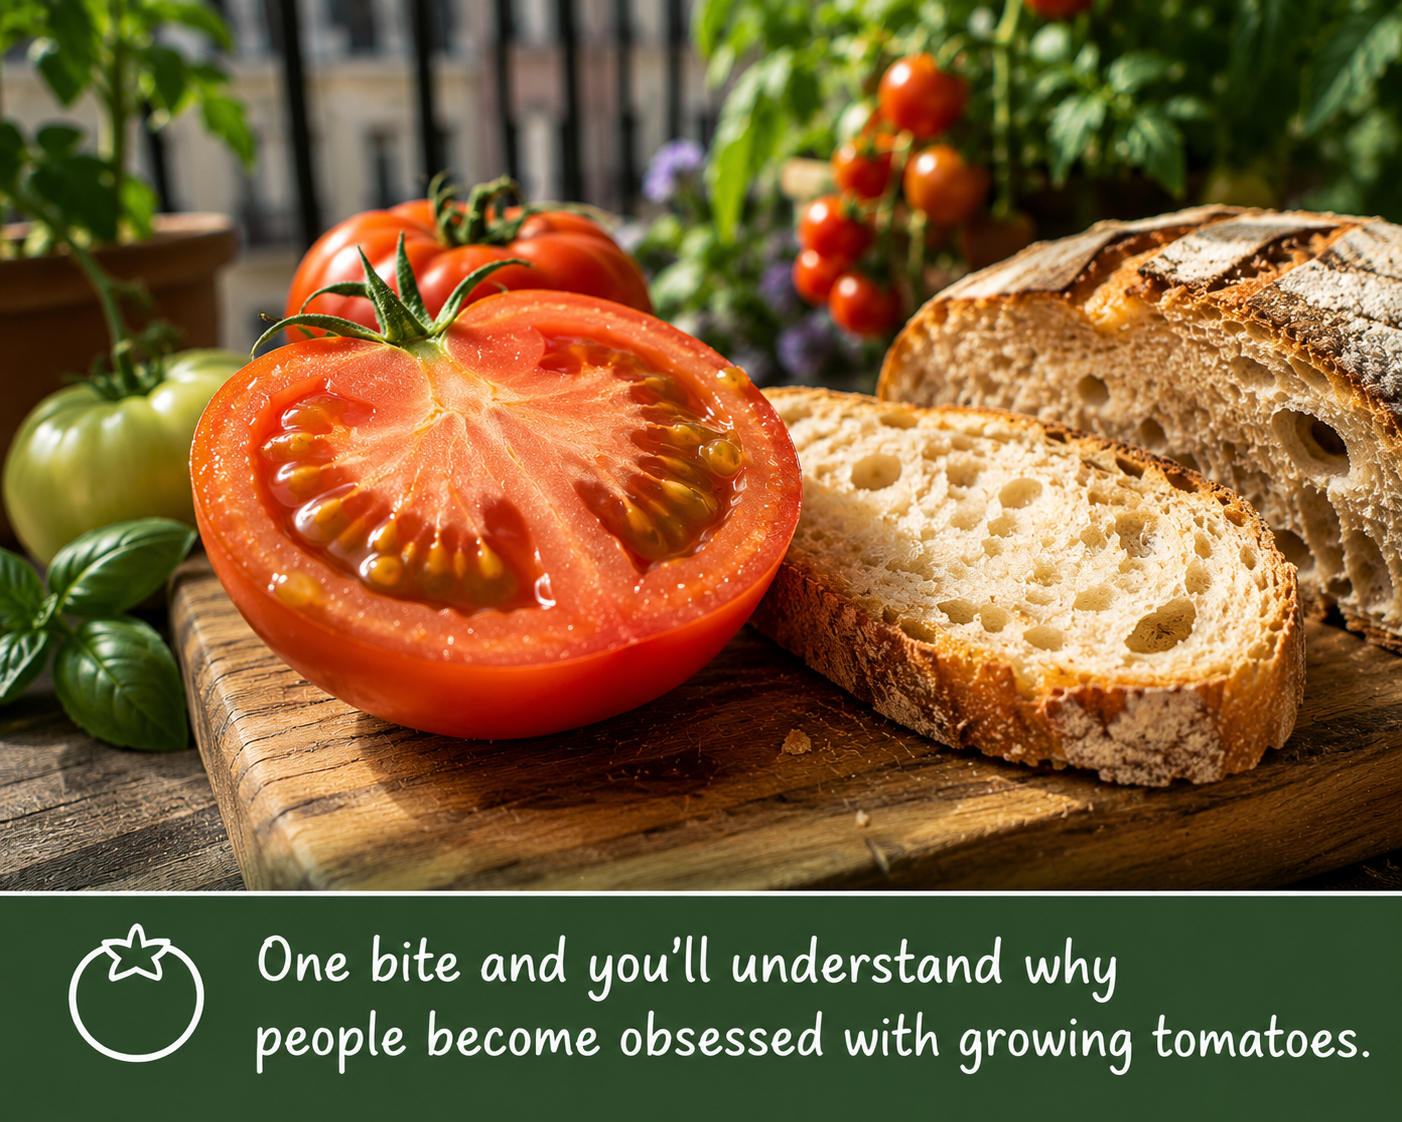
Give it sunshine, water, nutrients, and a little attention, and it will reward you with something no supermarket can sell: the incredible flavour of a vine-ripened tomato picked at the perfect moment.
If you’ve got a balcony, a patio, or even a sunny corner outside your door, this guide will show you exactly how to grow tomatoes successfully.
Why Grow Tomatoes on a Balcony?
Let’s start with the obvious question.
Why bother?
Because supermarket tomatoes are often picked before they’re fully ripe so they can survive transport and storage.
Home-grown tomatoes are different.
They ripen naturally on the vine, soaking up sunshine and developing the rich flavour that made tomatoes famous in the first place.
And there’s something deeply satisfying about stepping outside with your morning coffee and picking breakfast straight from the plant.
No garden required.
Step 1: Choose the Right Tomato Variety
This is where most beginners succeed or fail.
Some tomato plants stay compact and manageable.
Others grow like they are trying to take over the world.
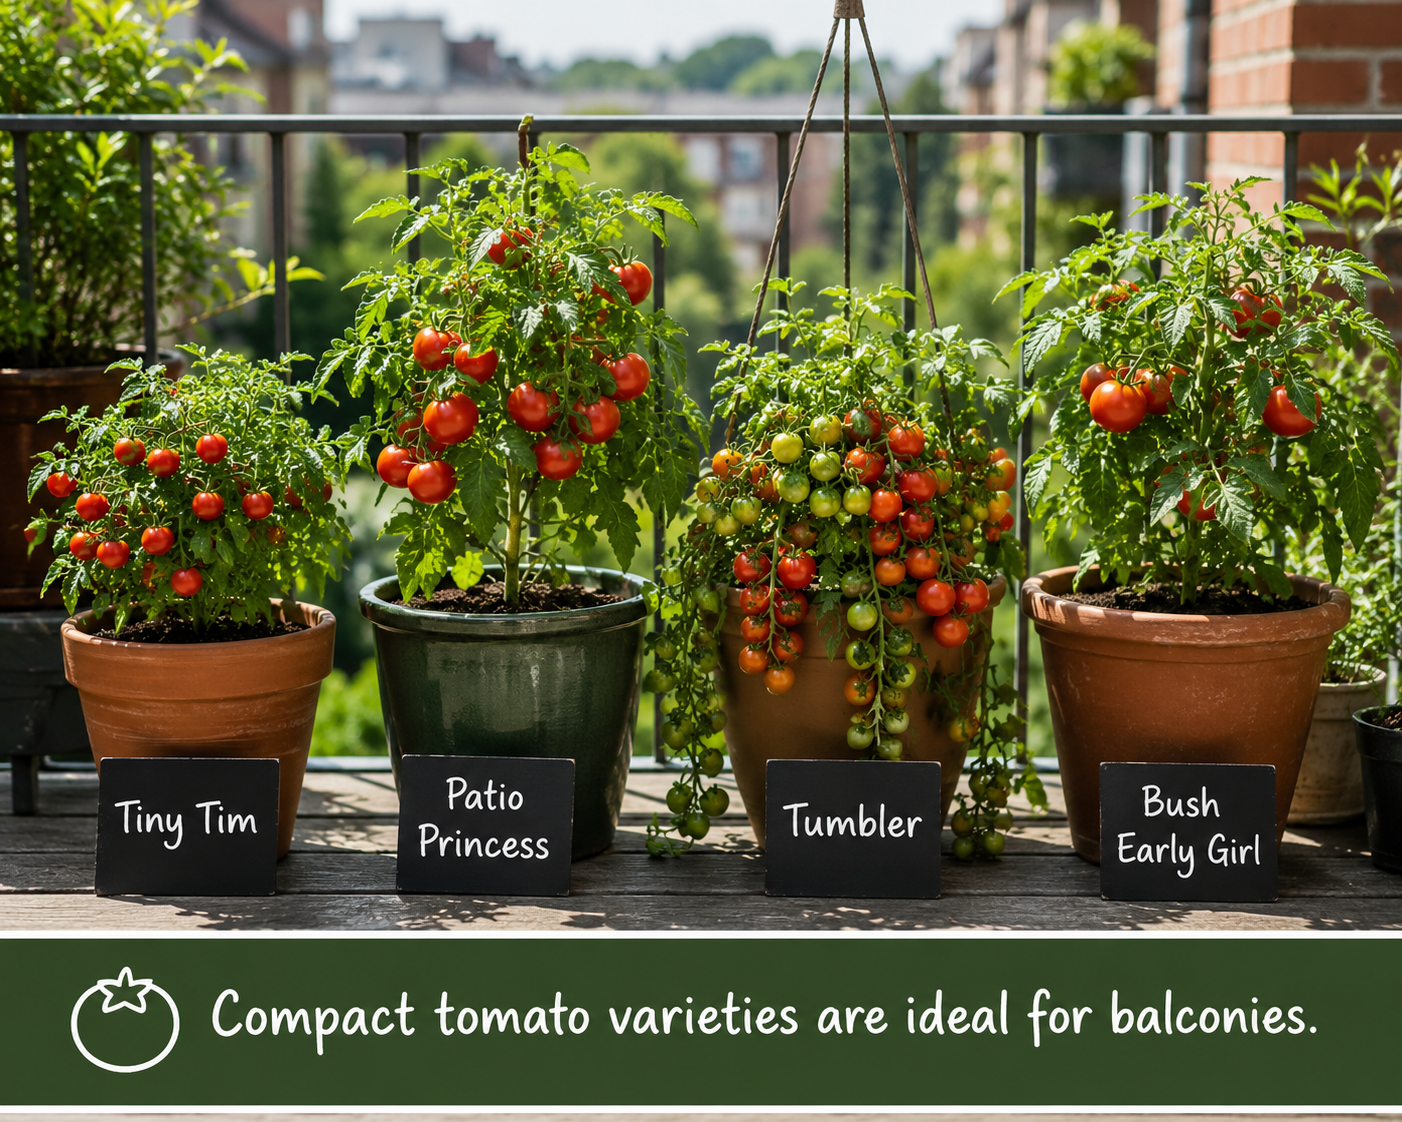
For balcony growing, choose varieties specifically bred for containers.
Best Balcony Tomato Varieties
- Tiny Tim
- Patio Princess
- Tumbler
- Bush Early Girl
- Better Bush
- Window Box Roma
These varieties stay compact while producing plenty of fruit.
If you’re growing tomatoes for the first time, start with cherry tomatoes.
They’re easier, more forgiving, and incredibly productive.
One healthy cherry tomato plant can produce hundreds of tomatoes throughout the season.
Determinate vs Indeterminate
You’ll often see these terms on seed packets.
Determinate tomatoes stay compact and produce most of their fruit at once.
Indeterminate tomatoes continue growing and producing fruit all season long.
For balconies, determinate varieties are usually easier.
For maximum harvests, indeterminate varieties can be fantastic if you have enough room and support.
Step 2: Bigger Pots Mean Bigger Harvests
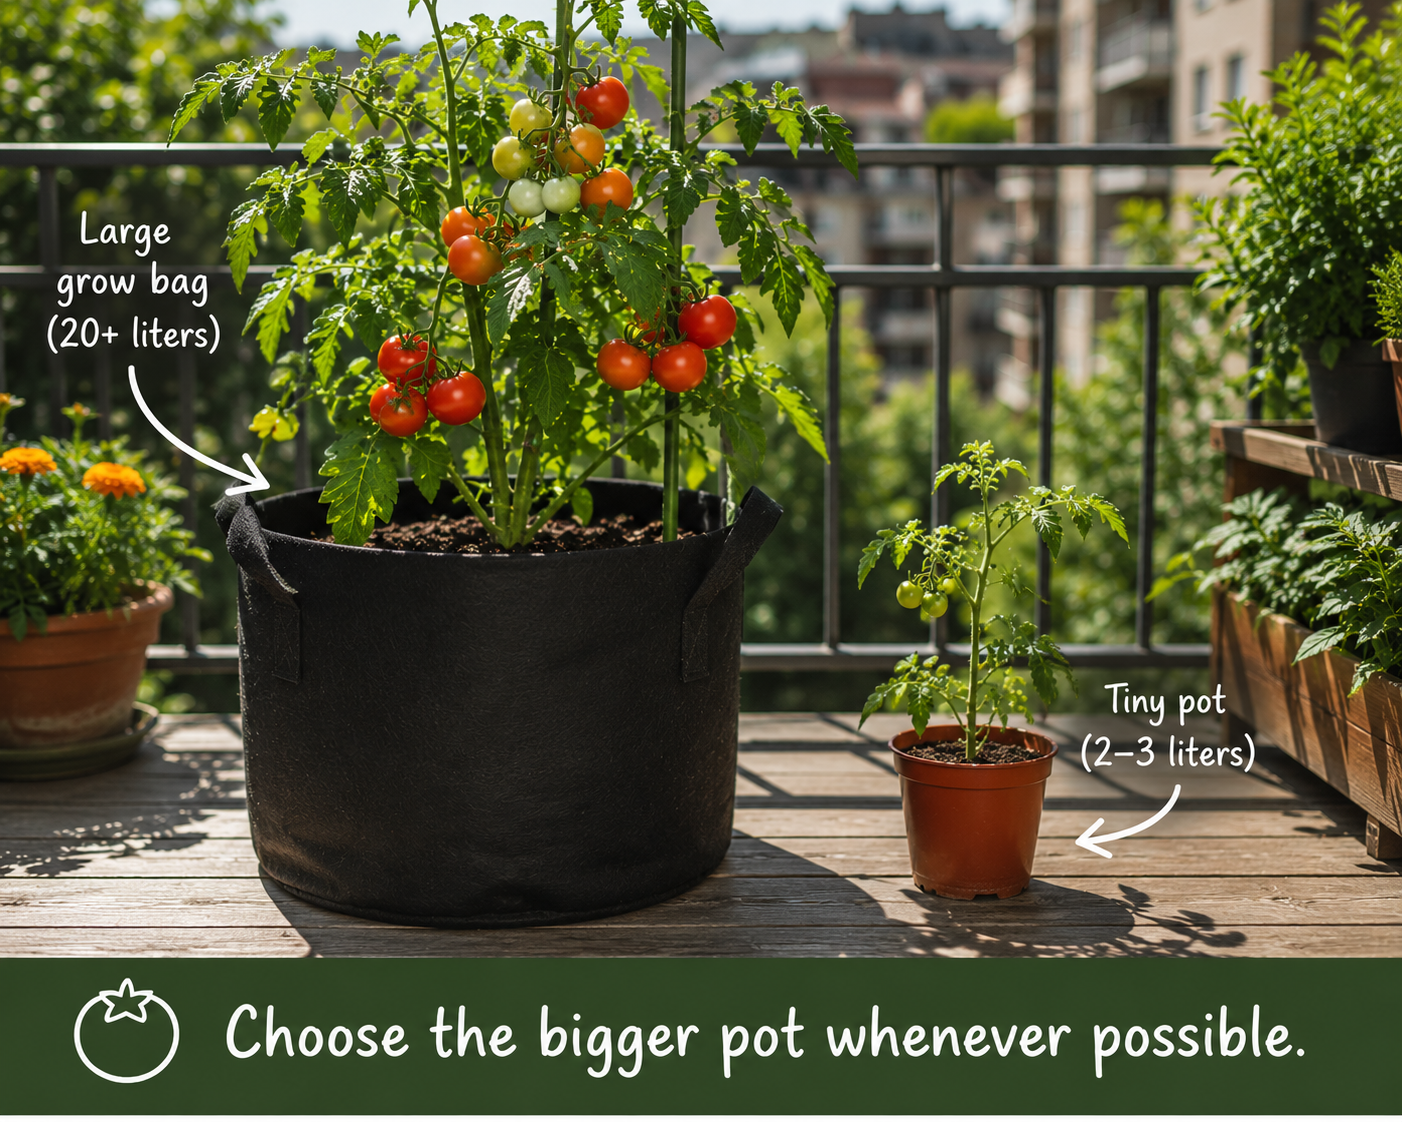
Here’s a simple rule:
When in doubt, choose the bigger pot.
A tomato plant might survive in a small container.
It won’t thrive.
Recommended Pot Sizes
- Small cherry tomatoes: 10-15 litres
- Medium tomatoes: 20-30 litres
- Large beefsteak tomatoes: 30-40 litres
The bigger the root system, the healthier the plant.
The healthier the plant, the more tomatoes you’ll harvest.
Don’t Forget Drainage
Tomatoes hate wet feet.
If your pot doesn’t have drainage holes, don’t use it.
Roots sitting in water quickly rot, and once that happens, recovery is difficult.
Step 3: Use the Right Potting Mix
One of the biggest mistakes beginners make is filling containers with garden soil.
Don’t.
Garden soil becomes compacted in pots, reducing airflow around roots and increasing disease problems.
Instead, use:
- Quality potting compost
- Container growing mix
- Compost-enriched potting soil
For even better results, mix in:
- Compost
- Well-rotted manure
- Slow-release tomato fertiliser
Your future harvest will thank you.
Step 4: Find the Sunniest Spot Available

Tomatoes are sunshine addicts.
The more sunlight they receive, the more fruit they produce.
Aim for:
6-8 hours of direct sunlight daily
More is even better.
South-facing balconies are ideal.
West-facing balconies can also work well.
If your balcony only gets a few hours of sunlight, choose cherry tomatoes because they tolerate less-than-perfect conditions better than large beefsteak varieties.
Watch Out for Wind
High-rise balconies can be surprisingly windy.
Strong winds:
- Dry out containers faster
- Damage stems
- Reduce pollination
If your balcony is exposed, place pots against a wall or install simple wind protection.
Step 5: Master Watering
If there is one secret to growing tomatoes successfully, it’s this:
Consistency beats perfection.
Tomatoes hate extremes.
Going from bone dry to soaking wet stresses the plant and causes problems like:
- Blossom end rot
- Fruit splitting
- Dropped flowers
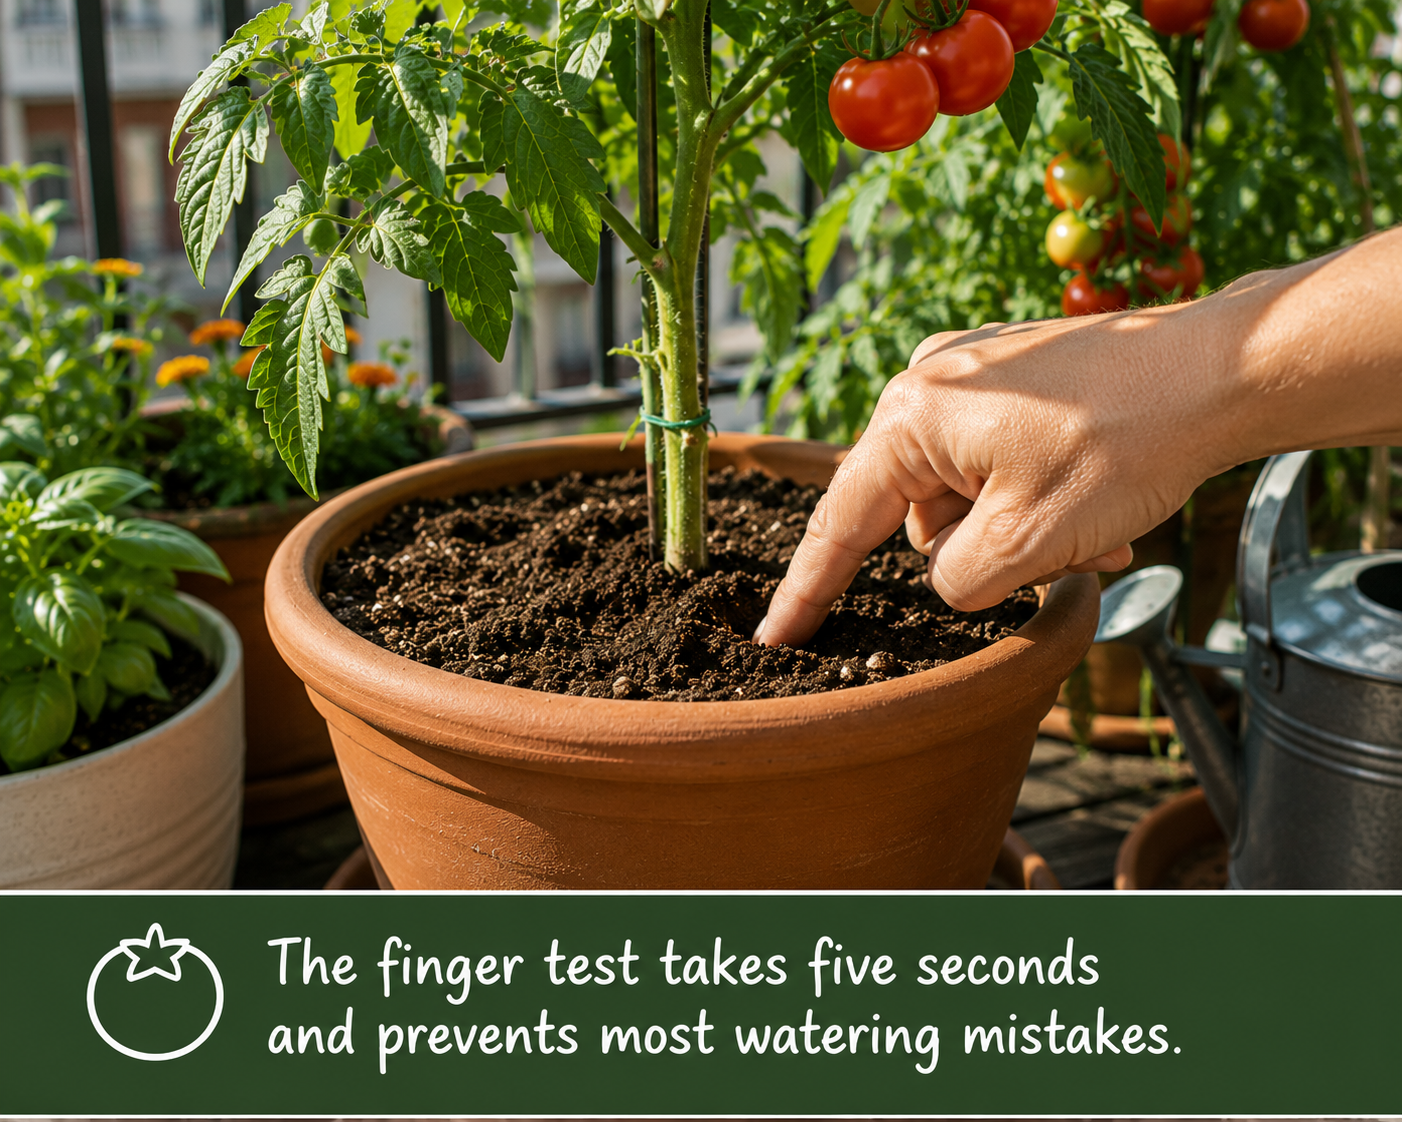
The Finger Test
Stick your finger 2 inches into the soil.
If it feels dry:
Water.
If it feels moist:
Wait.
Simple.
During hot summer weather, balcony tomatoes often need watering every day.
Sometimes twice a day.
That’s normal.
Water the Soil, Not the Leaves
Always water around the base of the plant.
Wet leaves encourage disease.
Dry leaves stay healthier.
Step 6: Feed Your Tomato Plants
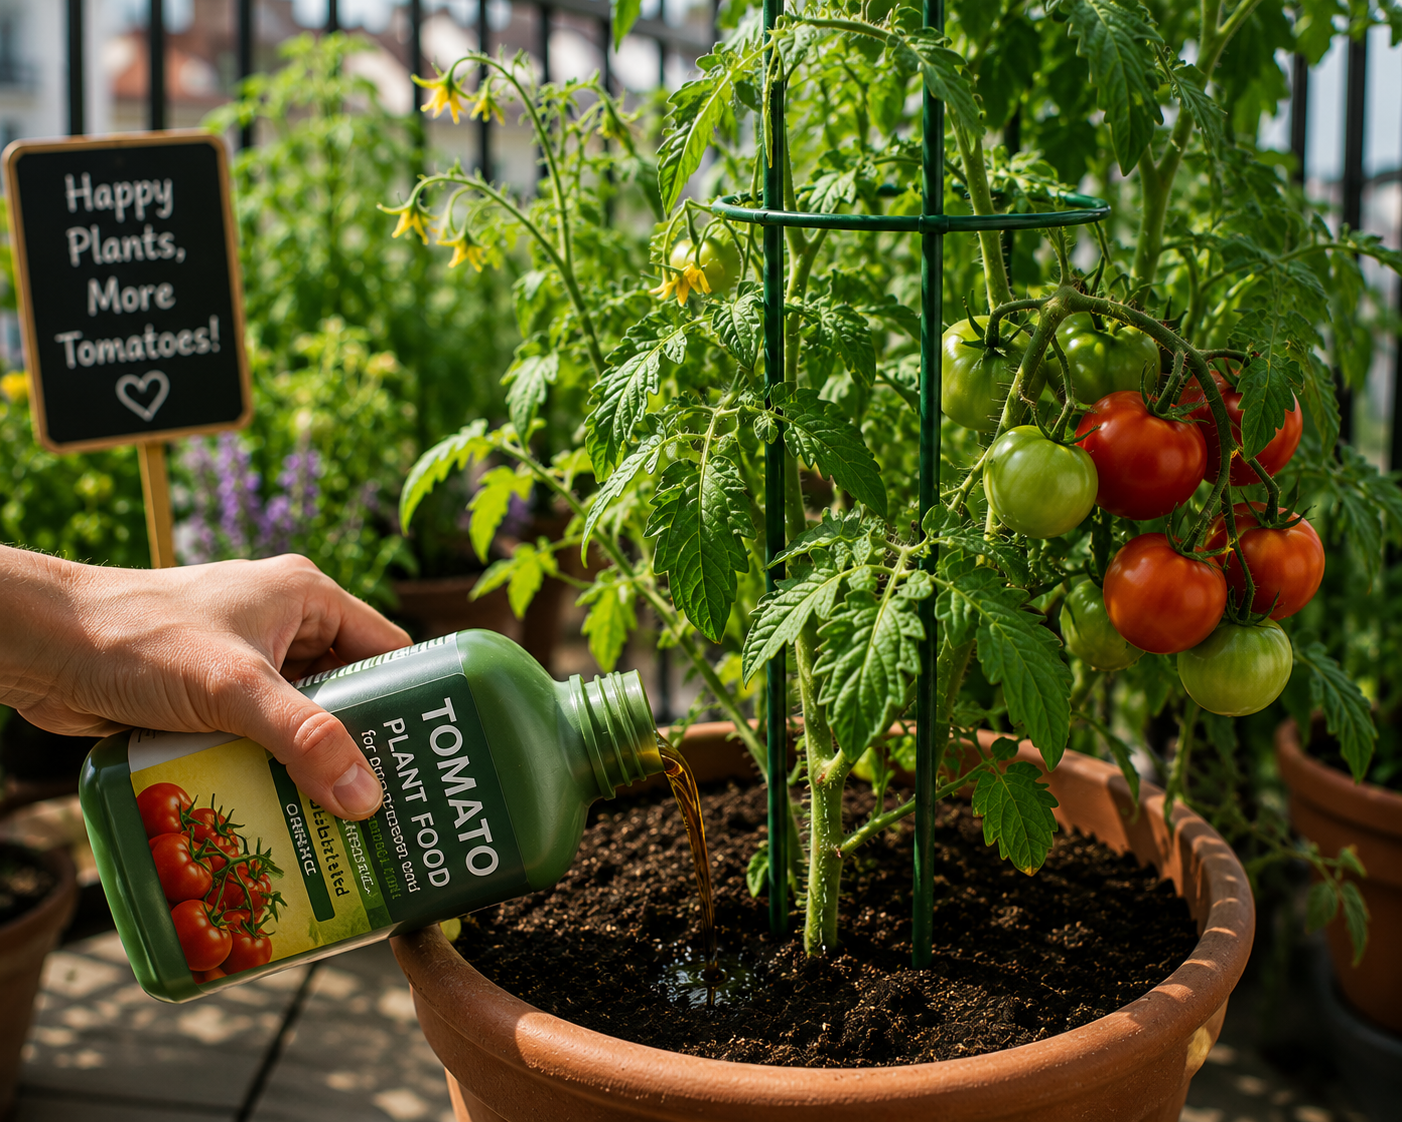
Tomatoes are hungry plants.
Very hungry.
The nutrients in a container get used up surprisingly quickly.
Easy Feeding Schedule
At planting:
- Mix slow-release fertiliser into the compost
Once flowers appear:
- Feed every 1-2 weeks with tomato fertiliser
When fruit develops:
- Continue regular feeding
Avoid Too Much Nitrogen
Many beginners accidentally create enormous green tomato bushes with almost no fruit.
The culprit?
Too much nitrogen.
If your plant looks like a jungle but isn’t producing tomatoes, switch to a tomato-specific feed immediately.
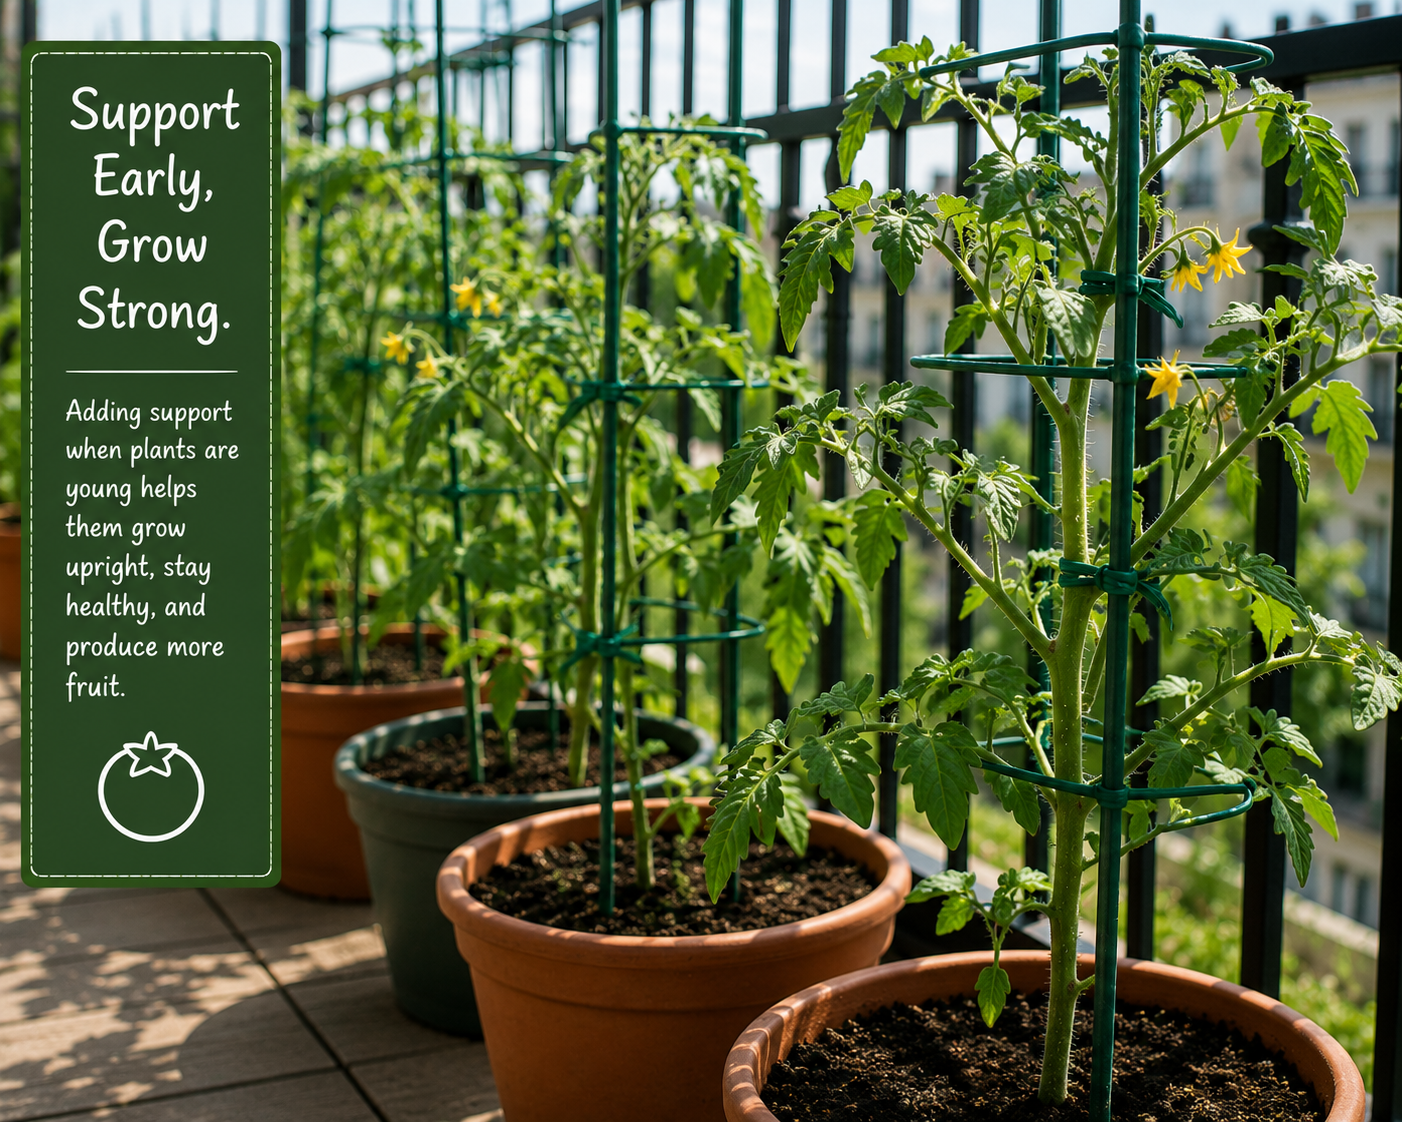
Step 7: Support Your Plants Early
Tomato plants are a bit like enthusiastic puppies.
They start small and well-behaved.
Then suddenly they’re everywhere.
Even compact varieties benefit from support.
Install:
- Tomato cages
- Stakes
- Trellises
as soon as you plant them.
Waiting until later often damages roots.
Tie Plants Loosely
Use:
- Garden twine
- Soft ties
- Old fabric strips
Never tie stems tightly.
Plants need room to grow.
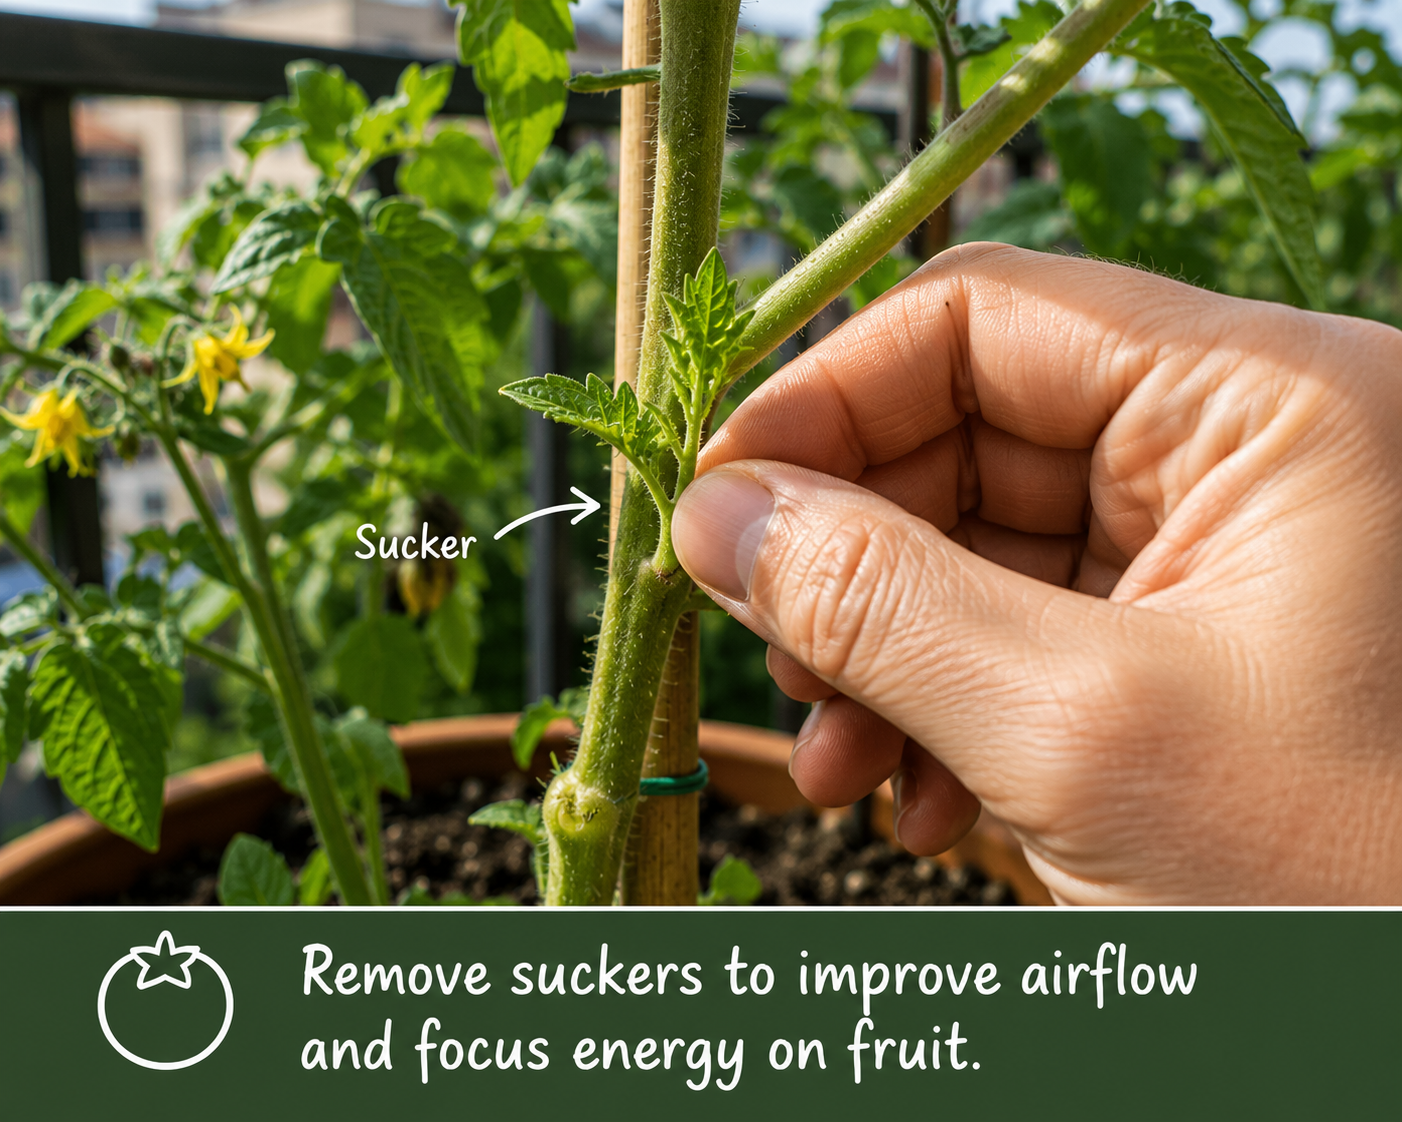
Step 8: Prune for Better Results
Pruning sounds complicated.
It isn’t.
Look for small shoots growing between the main stem and branches.
These are called suckers.
Removing them helps:
- Improve airflow
- Reduce disease risk
- Focus energy into fruit production
For balcony gardeners with limited space, pruning can make a huge difference.
Step 9: Help Pollination Along
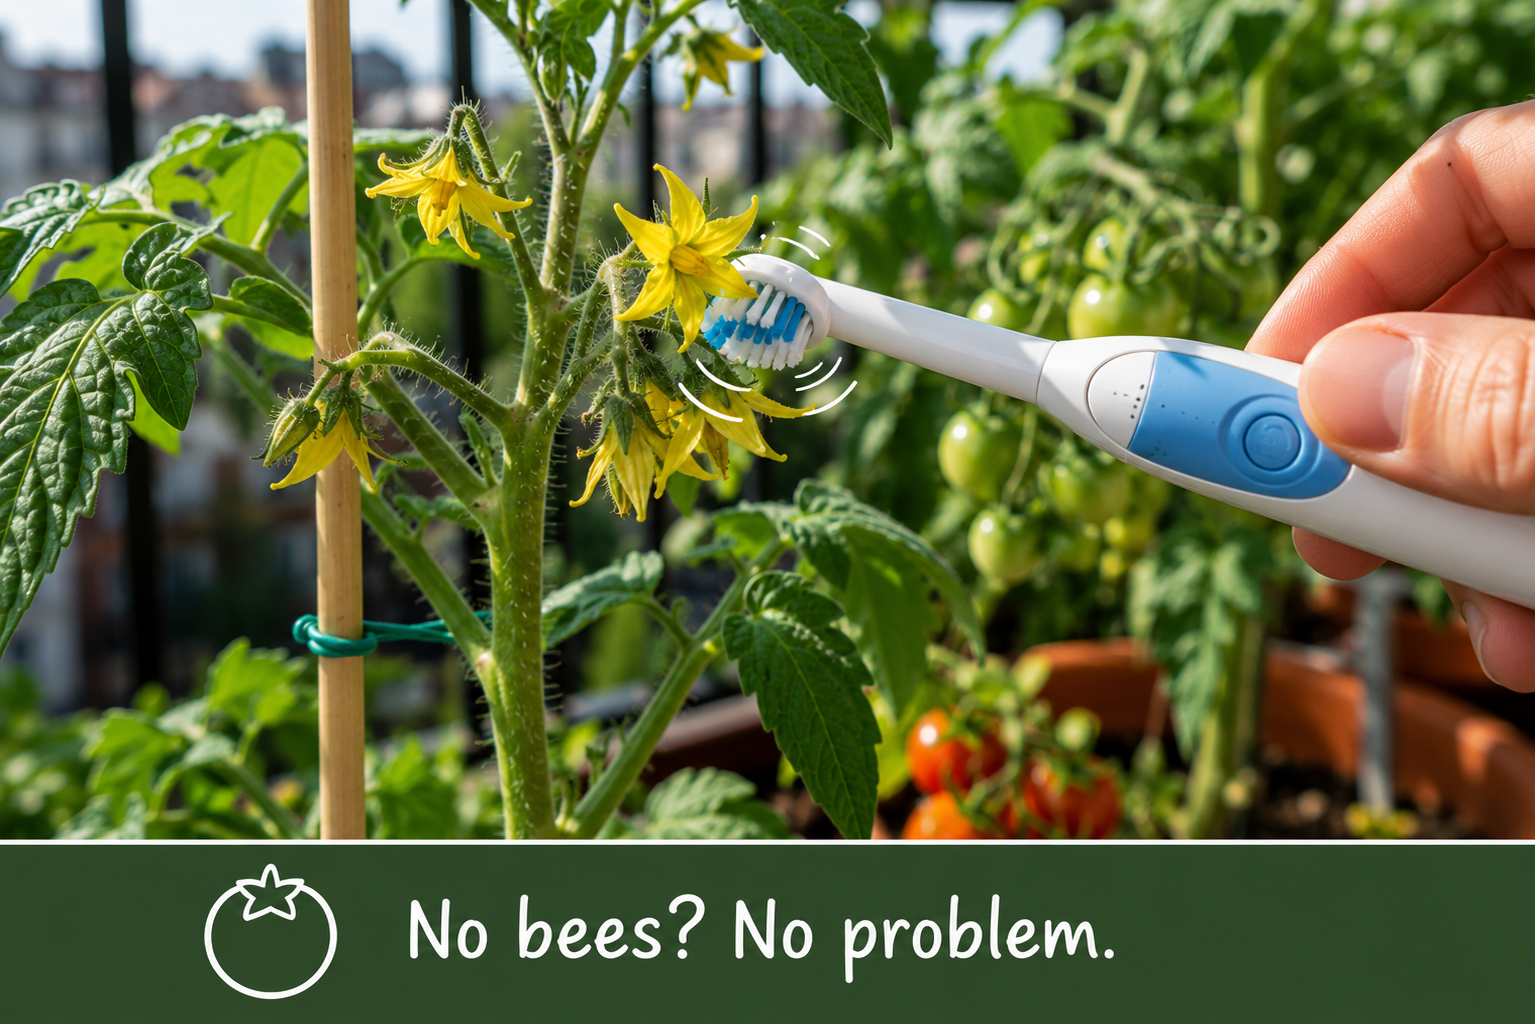
Tomatoes are self-pollinating.
But they still need pollen to move around.
In outdoor gardens, wind and bees usually handle this.
On sheltered balconies, you may need to help.
Easy Pollination Trick
Every day or two:
Gently shake the flower clusters.
That’s it.
Many gardeners swear by using an electric toothbrush against the flower stem to mimic bee vibrations.
It works surprisingly well.
Common Balcony Tomato Problems
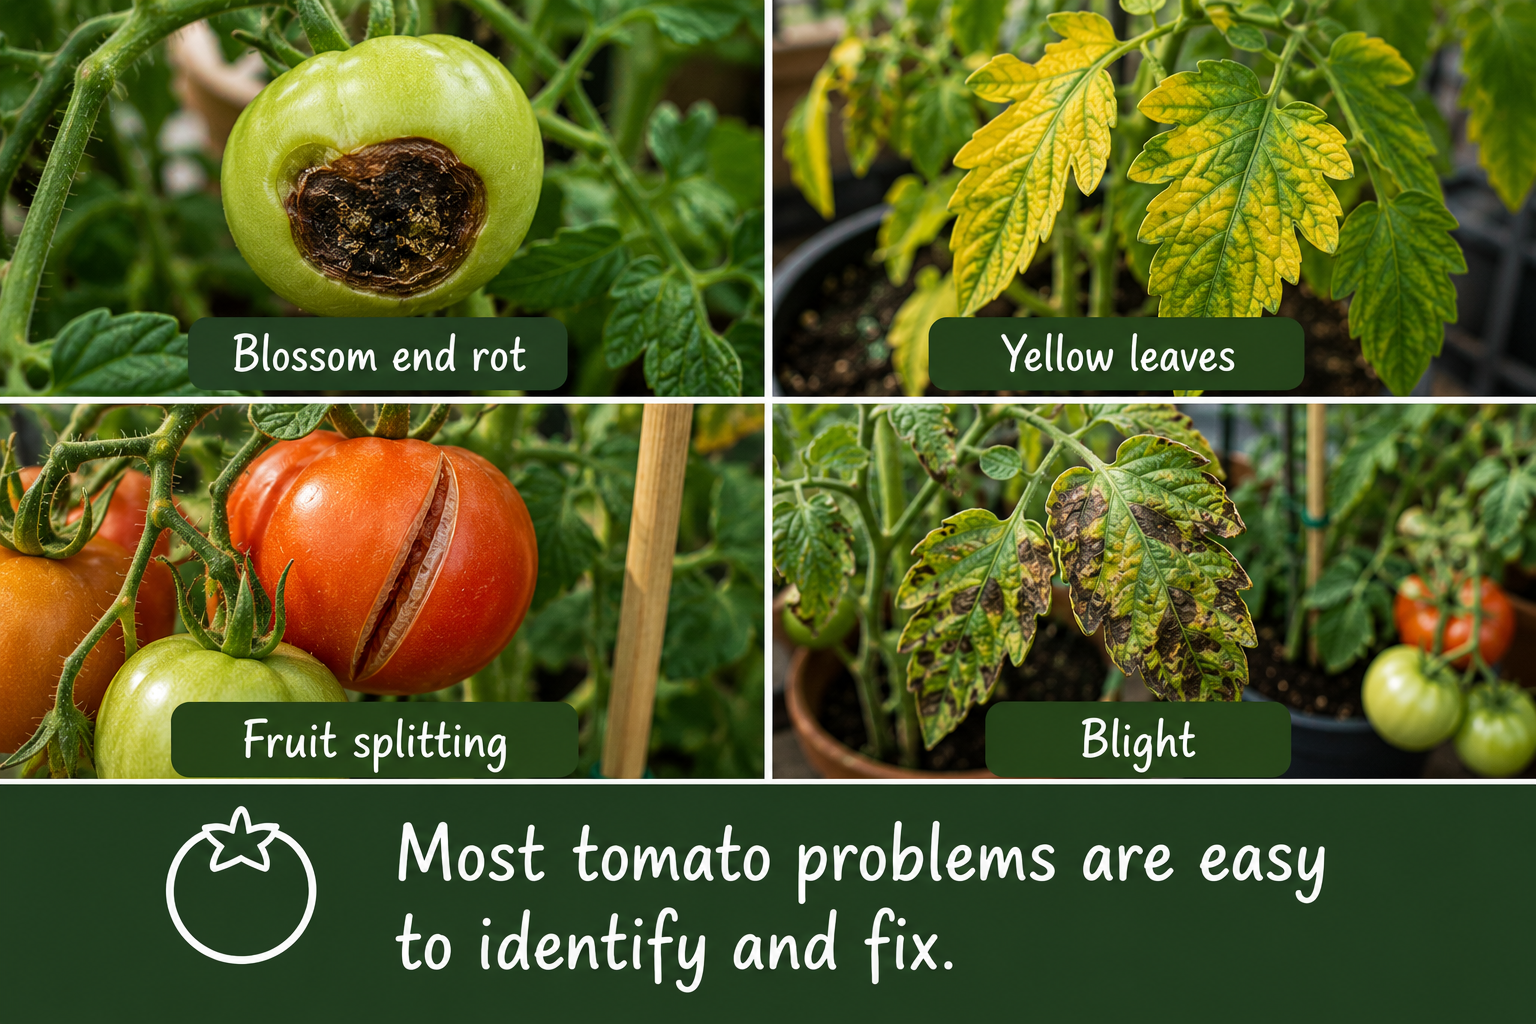
Yellow Leaves
Usually caused by:
- Overwatering
- Underwatering
- Nutrient deficiency
Check watering first.
It’s the most common cause.
Blossom End Rot
Looks like:
A black leathery patch on the bottom of the tomato.
Usually caused by inconsistent watering.
Keep moisture levels stable.
Split Tomatoes
Caused by sudden water changes.
Heavy rain after dry conditions is often the culprit.
Tomato Blight
One of the most feared tomato diseases.
Prevent it by:
- Watering at soil level
- Improving airflow
- Removing infected leaves quickly
Harvesting Your Tomatoes
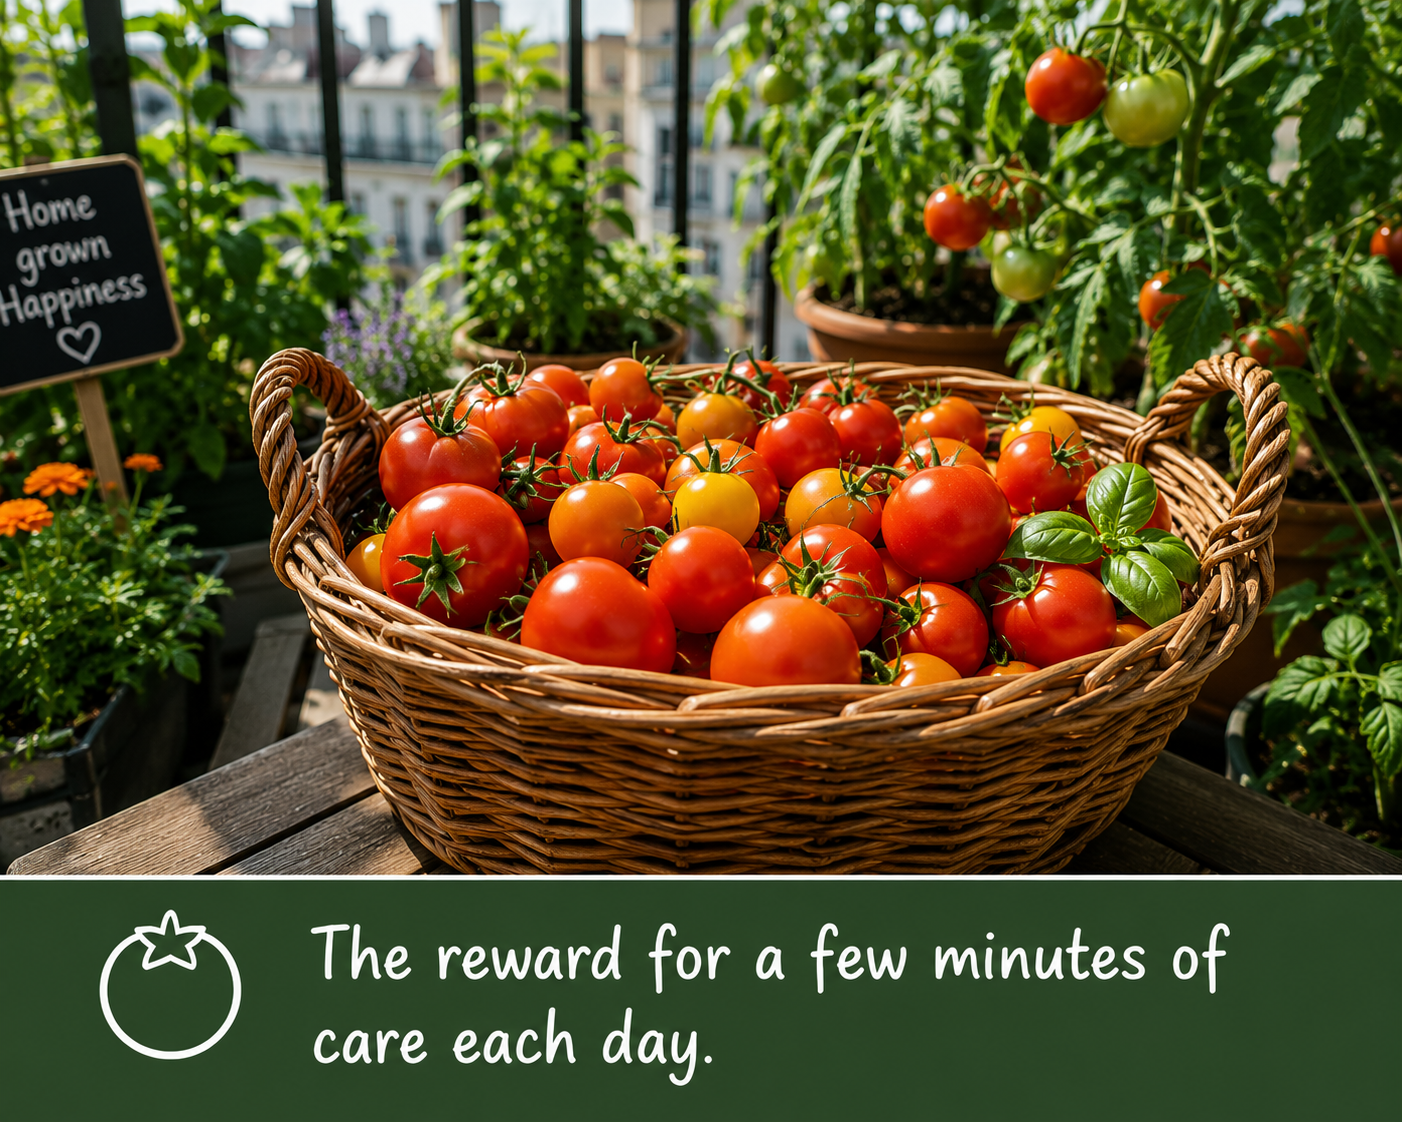
This is the best part.
Wait until tomatoes are fully coloured and slightly soft to the touch.
Then gently twist.
If the tomato comes away easily, it’s ready.
Never Refrigerate Fresh Tomatoes
Seriously.
Don’t do it.
Cold temperatures damage flavour.
Store tomatoes at room temperature and enjoy them as fresh as possible.
The difference is remarkable.
Final Thoughts
Growing tomatoes on a balcony proves that you don’t need acres of land to grow amazing food.
You don’t need a greenhouse.
You don’t need expensive equipment.
You don’t even need a garden.
You just need:
- A sunny spot
- A decent-sized pot
- Good compost
- Consistent watering
- A little patience
Before long you’ll be harvesting tomatoes that taste better than anything you’ve bought from a supermarket.
And once you’ve tasted your first truly home-grown tomato, you’ll understand why so many gardeners become completely obsessed.
Small balcony. Big harvest.
Happy growing.